In this article you will learn more about:
- What is a screenshot
- How to take a screenshot on:
- iOs
MacBook
iPad/iPhone - Windows
PC
Surface Pro - Android
- iOs
What is a screenshot?
A screenshot is an image taken of whatever’s on your screen. It is useful when you need to give a visual of your issue to the Customer Happiness team in order for them to get a better understanding on what's going on.
How to take a screenshot?
Select the device you're using below to find how to take a screenshot step by step:
Shift + Command + 3
To take a screenshot of your entire screen:
- Press and hold these three keys together: Shift + Cmd + 3.


- Your screenshots will always be saved in your Desktop. You can go to the Finder on the Desktop folder or directly go to the Desktop.

Shift + Command + 4
To take just a screenshot of just a portion of your screen:
- Press and hold these three keys together: Shift + Cmd + 4.


- Drag the crosshair to select the area of the screen to capture. To move the selection, press and hold Space bar while dragging. To cancel taking the screenshot, press the Esc (Escape) key.
- To take the screenshot, release your mouse or trackpad button.

- Your screenshots will always be saved in your Desktop. You can go to the Finder on the Desktop folder or directly go to the Desktop.

The iPad has a great built-in feature where you can take screenshots of anything as an image file, which can then be shared with anyone. In this guide, we walk you through all the steps on how to take a screenshot on your iPad any generation.
- Locate the Home and Top (Power) buttons.

Option 1: The Home button is located directly below your iPad’s display and is the only button on the front-side of the iPad. The Top button, on the other hand, is the oval-shaped button atop the iPad in the right-hand corner.
Option 2: If you have a new, 2018 iPad Pro, then you need to find the Volume Up button, since there is no Home button.
- Option 1:
Press the top button and the volume up button at the same time.
Quickly release both buttons.
Option 2:
Press the top button and the Home button at the same time.
Quickly release both buttons.
- After you take a screenshot, a thumbnail temporarily appears in the lower-left corner of your screen. Tap the thumbnail to open it or swipe left to dismiss it.

- If you tap on it, you will be able to edit the screenshot using the toolbar and then save it on Photos or Files or send it directly to us via email.

- By default, the screenshots are sent to the Photos app, on the Screenshots folder.

Info
The system works the same for iPhone
Select the device you're using below to find how to take a screenshot step by step:
On external keyboards, you’ll find a dedicated PrtScn key located in the upper-right corner. The Win key typically resides on the lower left between the Control (Ctrl) and Alternate (Alt) keys. It sports the Windows logo, so it’s not hard to miss.
On laptops, the Print Screen command may be combined with another function on a single key, as shown above. In this case, you must press the Function (Fn) key in addition to the Print Screen key.
Here’s a breakdown of the three screen capture commands:
Print Screen (PrtScn)
Captures the entire screen. By default, this method does not save your image as a file, but merely sends the captured image to the clipboard. This is how to use it:
- Press Prtscn on your keyboard


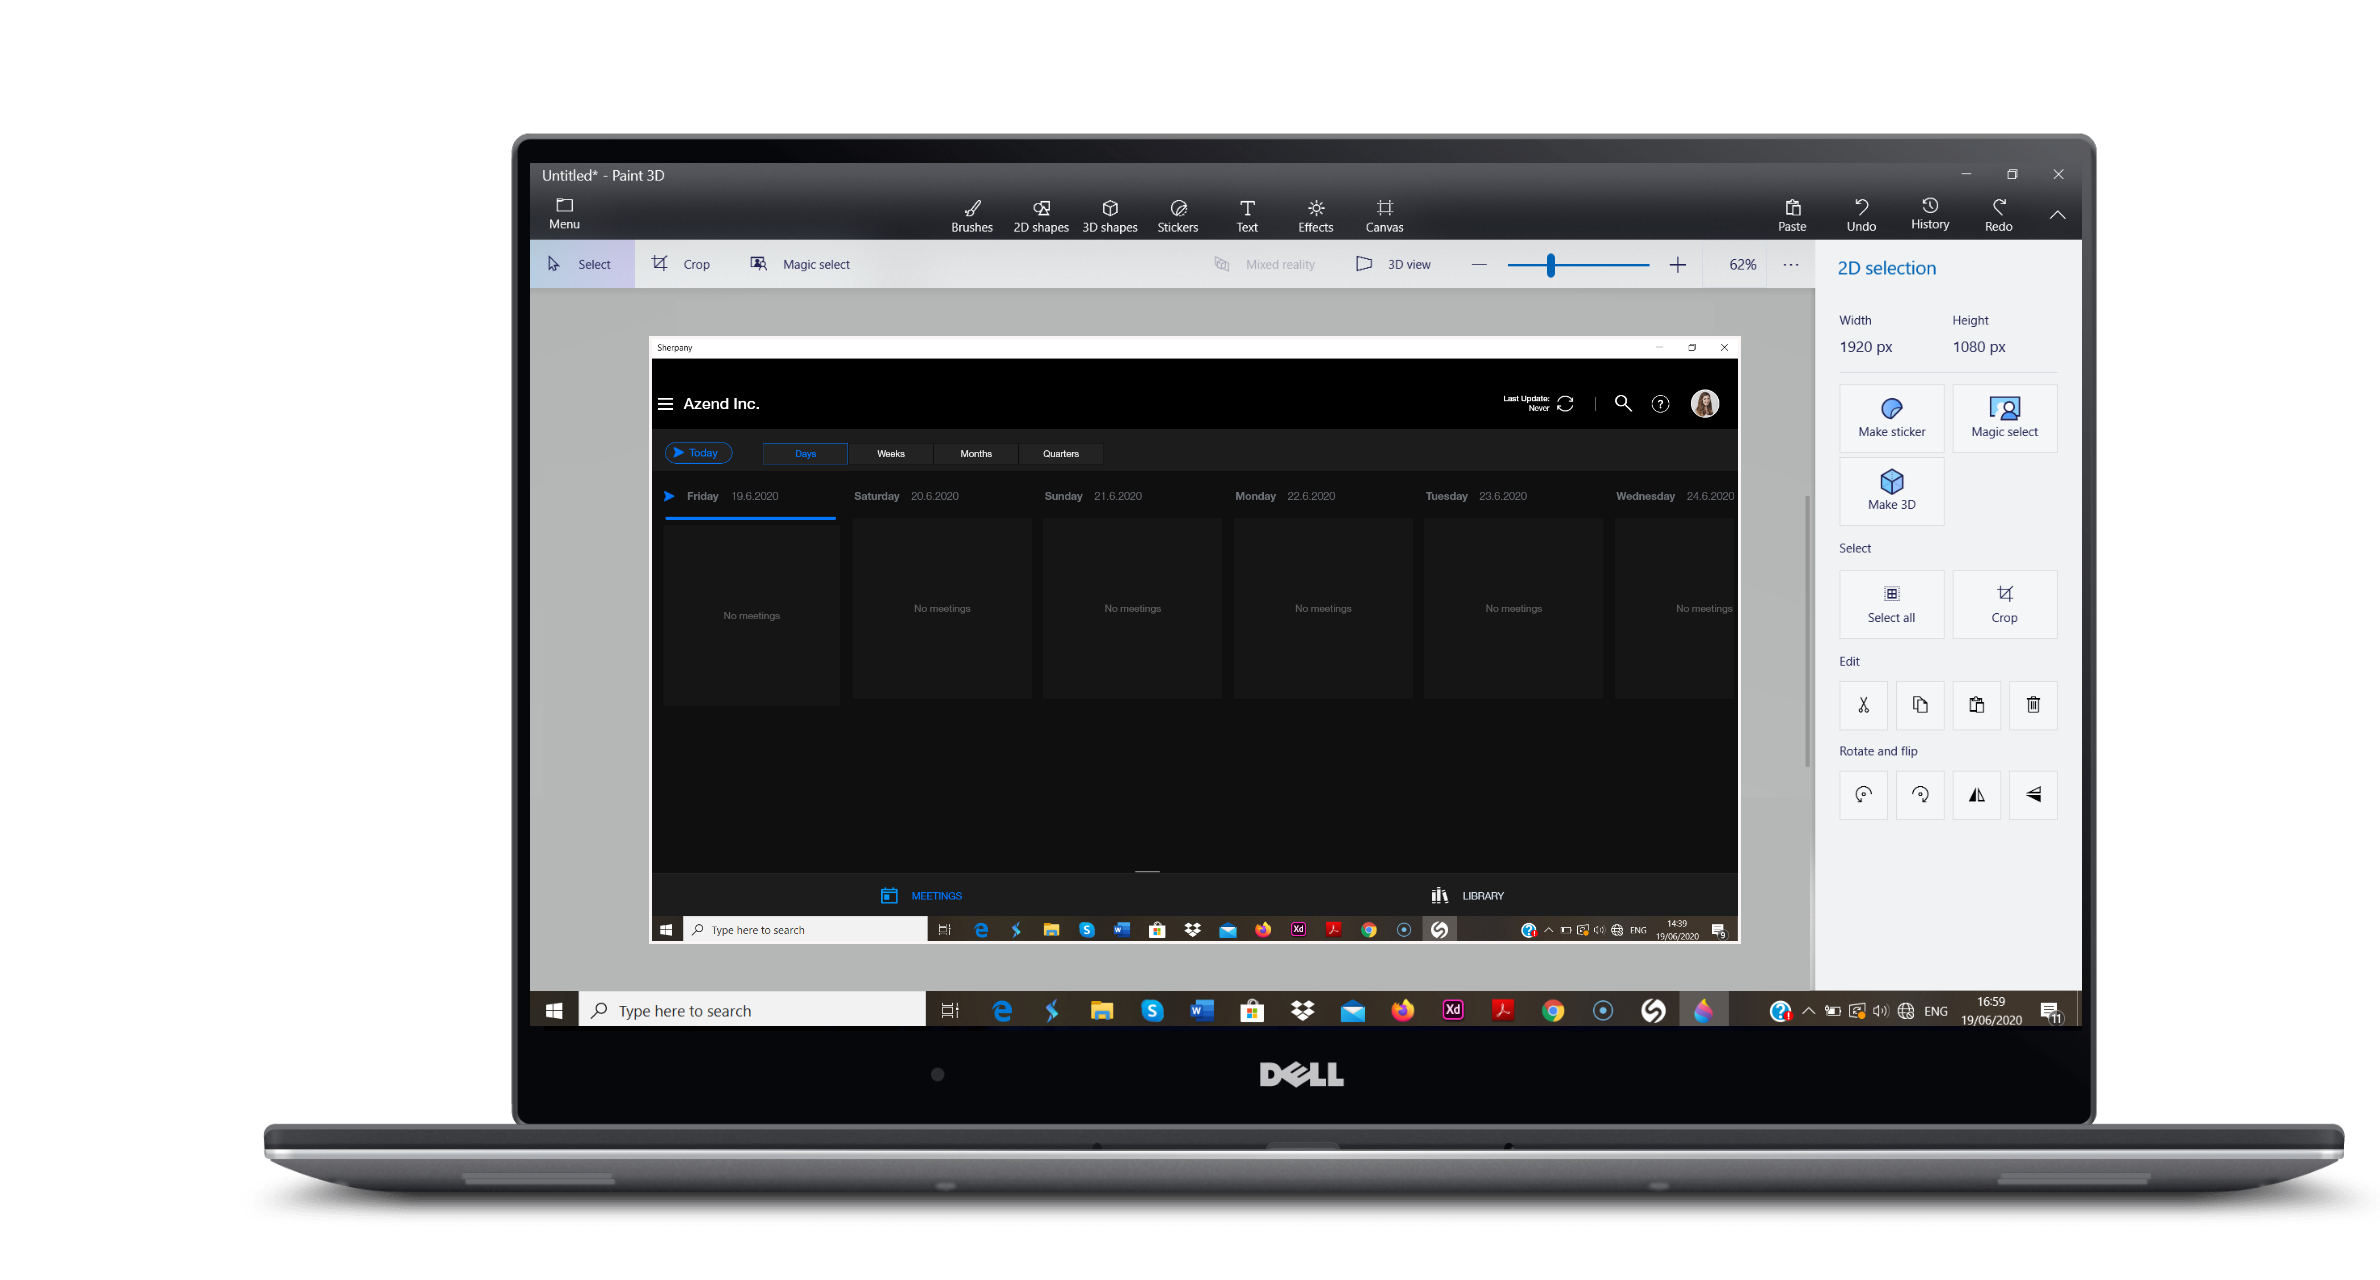
- Open any editor program like "Paint 3D" (use the search field to find it on your laptop)
- Right-click and select paste in the blank page you opened

- The image of the screen you just took appears, you can edit it or leave it as it is and save the file to send it to us

Win + Print Screen 
Captures the entire screen. The difference here is that Windows saves the image as a file. By default, it’s sent to C:Users<user name>Pictures>Screenshots on your PC. This is how to use it:
- Press Win + Prtscn on your keyboard


- Go to the folder on your laptop and look for "Pictures", then "Screenshots". There you will find all the screenshots made using this key combination.

Win + Shift + S
Capture a screenshot of the portion of screen you choose. This tool does not save captures as an image but merely sends them to the clipboard. This is how to use it:
- Press Win + Shift + S on your keyboard


- Your screen will appear greyed out and your mouse cursor will change. Click and drag on your screen to select the part of your screen you want to capture. When you release the mouse button, the screenshot will be copied in the clipboard.

- Open any editor program like "Paint 3D" (use the search field to find it on your laptop)
- Right-click and select paste in the blank page you opened

- The image of the screen you just took appears, you can edit it or leave it as it is and save the file to send it to us.

Snipping tool
- Open the Snipping tool program by searching it in the search field of your laptop.
- Click on "New" and select the type of screenshot you want to do (First, select one of four modes:
Freeform: Use your mouse, finger, or pen to capture a custom area.
Rectangular: Capture a precise, manually selected rectangular area.
Window: Capture a specific user-selected window, like a browser.
Fullscreen: Capture the entire screen.)
- In case of "Rectanglular" mode, with the cursor press and hold the mouse button to select the desire area and release it.
- The screenshot will appear on the Snipping tool window and you will be able to edit it, do it again by clicking on new, or save it as a file to send it to us.
There is several ways to perform a screenshot on Windows Surface tablet, most of them are very similar to Windows PC,it also depend of the model of your device. Here we will show you the most common and efficient ways to do so.
Surface Hardware Buttons
- Press both the Power button and the Volume-up button simultaneously
- Release them. You’ll notice the screen briefly dim then brighten again to let you know a screenshot is taken.
- All screenshots you took with this method, will be saved to the Screenshots folder of your Pictures library under “This PC.”

Win + PrtScn
- First, check the FN key on your Type Cover to make sure that its light is off.
- Hold down the Windows key and then press the PrtSn key(usually on the F8 key). This will capture your Surface screen and place the resulting screenshot in the same Screenshots folder under the Pictures library.

You can also just press the PrtScn by itself. But instead of saving your screenshot to the Screenshots folder of your Pictures library on “This PC,” it will be saved in the Screenshots folder of your Pictures library on OneDrive.
Win + Spacebar + Fn
Although the Type and Touch Covers prior to the Surface Pro 4 don’t feature a Print Screen key, they do allow you to capture screenshots using a basic button combination. With any keyboard cover attached, type the following:
- Press simultaneously the keys Win + Spacebar + Fn on your keyboard.
- This will capture your Surface screen and place the resulting screenshot in the same Screenshots folder under the Pictures library.

Windows Pen
To configure a Surface Pen button, perform the following:
- Open the "Action Center" and click the "All Settings" tile.
- Select "Devices" listed in the "Settings app".
- Select "Pen & Windows Ink" listed on the left.
- Scroll down to "Pen Shortcuts" to customize the "Click Once", "Double-click", and "Press and Hold assignments". The options depend on the version of Surface Pen you’re using.

Once you configured the pen you can do a screenshot by:
- Double-clicking on the top button of your Surface Pen.
- The full screenshot will be saved in your Screenshots folder on OneDrive, but this method also gives you the option to crop your image immediately.
A greyed-out version of the image will show up on your screen; use your Surface Pen to drag the tip of the pen from one corner of the portion you want to capture to the opposite corner. When you lift the pen tip, your selection appears in a new page in OneNote.
Snipping tool
There’s a built-in screenshot program in Windows called Snipping Tool that offers more functionality than the above methods. To locate and use the Snipping Tool, type Snipping Tool in the taskbar’s search field.
Once it appears in the search results, you can either left-click the icon to open the application, or right-click the icon to pin it to your Start menu or taskbar.
- First, select one of four modes:
Freeform: Use your mouse, finger, or pen to capture a custom area.
Rectangular: Capture a precise, manually selected rectangular area.
Window: Capture a specific user-selected window, like a browser.
Fullscreen: Capture the entire screen.

- Next, click "New" and respond accordingly.
For example, if configured for "Rectangular", your cursor turns into a set of crosshairs that you can then use to create a capture field encompassing the portion of the display you want to capture. Simply drag the resulting cursor over the desired area before releasing it to capture your desired screenshot. - Afterward, save the screenshot wherever you prefer, as either a JPEG, PNG, or GIF file. You can annotate your clip if using a Surface Pen.
Warning
For security reasons, no screenshot or screen recording is allowed on Sherpany app
